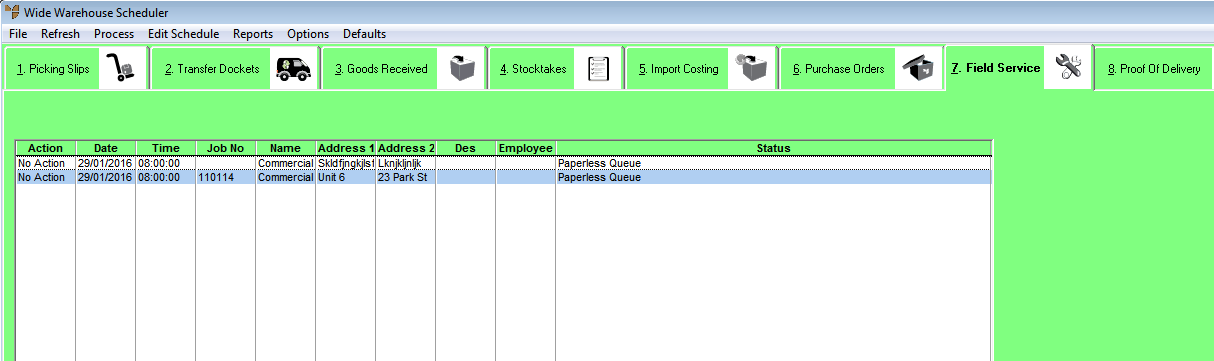
Once an invoice has been created in MDS and saved as a field service order, it waits on the Wide Warehouse Scheduler - Field Service tab in a status of Paperless Queue until it is assigned to a field service employee and scheduled. Once a field service order has been assigned and scheduled (i.e. the job date and start and end times have been entered), the status of the order changes to Scheduled. The next time the assigned employee synchronises their PDA to Micronet, the order is downloaded to that PDA along with all item lines and text lines. The status of the order then changes from Scheduled to On PDA.
Follow this procedure to assign a field service order to an employee and to schedule the order.
To assign and schedule field service orders:
Refer to "Displaying the Wide Warehouse Scheduler".
Micronet displays the Wide Warehouse Scheduler - Field Service tab showing all field service orders created in MDS.
For more information about the fields on this tab, refer to "View or Changing the Status of a Field Service Order".
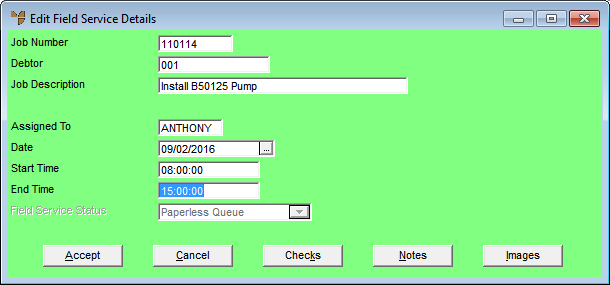
Micronet displays the Edit Field Service Details screen.
|
|
Field |
Value |
|
|
Job Number |
Micronet displays the field service order number which is a combination of the field service prefix entered in the Warehouse master file and the last held invoice number. For information on how these numbers are assigned, refer to "File - Warehouse - Warehouse". |
|
|
Debtor |
Micronet displays the debtor ID for the order. |
|
|
Job Description |
Enter a description of the job or the type of order. You can change this if required. |
|
|
Assigned To |
Enter the ID of the field service employee you want to assign this order to. You can also press spacebar then Enter to select from a list of employees. The order will be downloaded to this employee's PDA the next time they synchronise with Micronet. You can change the employee the order is assigned to by deleting the employee ID displayed and entering the ID of another employee. Leave this field blank if you don't want the job downloaded to a PDA yet. |
|
|
Date |
Enter or select the date the employee should perform this job. You can change the date if required. |
|
|
Start Time |
Enter the job start time. You can change the start time if required. |
|
|
End Time |
Enter the job end time. You can change the end time if required. |
|
|
Field Service Status |
Micronet displays the status of the field service order. You can only change the status on the Wide Warehouse Scheduler - Field Service tab (refer to "View or Changing the Status of a Field Service Order"). Options are:
|
Micronet displays a message that the job has been scheduled.
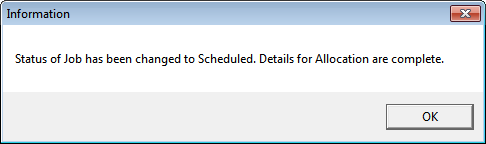
Micronet redisplays the Wide Warehouse Scheduler - Field Service tab showing the Status of the order as Scheduled.
|
|

|
Technical Tip This screen is not automatically updated. It is a good idea to select FILE | REFRESH every now and then to ensure you are viewing the most recent data. |